24 Gorgeous Gallery Wall Styling Ideas
Gallery walls are a game-changer in the world of home décor.
Whether you live in a cozy apartment or a spacious house, they allow you to tell your story, display memories, and infuse personality into your space like no other design trend can.
But creating the perfect gallery wall can feel intimidating.
Where do you start?
How do you make it cohesive?
And what about placement—should you go above the sofa, or try an eccentric stairway design?
Don’t worry! We’re here to walk you through creative and practical gallery wall styling ideas that’ll transform your space while keeping things fun, easy, and inspiring.
By the end, you’ll have all the tools you need to curate a gallery wall that speaks to your unique style and makes your home feel even more, well… you.
Step 1: Define the Purpose of Your Gallery Wall
Before hammering your first nail, consider the purpose of your gallery wall.
- Are you looking to display family memories? Gather photos of your loved ones and frame them in complementary colors.
- Are you showcasing art and creativity? Collect pieces by your favorite artists, dabble with typography prints, or mix in your own artwork.
- Just here to add flair to an empty wall? Bring on a mix of pieces—abstract art, travel photos, funky mirrors, clocks, or even plant hangers.
By defining its purpose, you’ll ensure your gallery wall feels intentional rather than random.
Step 2: Choose the Perfect Spot
Where you hang your gallery wall matters.
Here are some popular spots that breathe life into your space:
Above the Sofa
The go-to choice!
A gallery wall here creates an instant focal point in your living room.
Pro tip? Arrange your frames so they span about two-thirds of your sofa’s width for visual balance.
Up the Staircase
Bring visual interest to an often-overlooked area.
Follow the upward slope of the stairs and arrange pieces to mimic this natural flow.
Bedroom Backdrop
Who says gallery walls are only for guests’ eyes?
Transform your bedroom with a gallery wall above the bed featuring soothing artwork or cherished memories.
Entryway Statement
Greet guests—and yourself!—with a bold arrangement in the hallway or entryway, setting the tone for the rest of your home.
Step 3: Pick Your Layout Style
The beauty of gallery walls?
There’s no one-size-fits-all layout.
Here are some ideas to spark inspiration:
1. The Grid
Keep it clean and polished with a grid layout.
Arrange pieces in a square or rectangular grid for a neat, symmetrical look.
Best for those who prefer structure and harmony.
2. The Eclectic Mix
Feeling adventurous?
Go freeform with your layout!
Combine frames of different sizes and shapes for a playful, layered effect.
A pro tip? Lay everything on the floor first and experiment with compositions.
3. The Statement Piece Plus Friends
Center one standout artwork, then surround it with smaller pieces to guide the eye outward.
This approach works great if you have one must-showoff item.
4. The Collage
For a cozy, personal vibe, overlap frames or layer unframed prints on ledges.
It’s an imperfect, artsy look that feels casual and effortless.
Step 4: Mix It Up—Think Beyond Art
Gallery wall styling ideas go way beyond framed prints.
Incorporating texture, dimension, and unique items will take things to the next level.
Some ideas to spice things up include:
- Mirrors in various shapes for added shine.
- Floating Shelves holding tiny plants, books, or candles.
- Textured Pieces like woven baskets, macrame hangers, or fabric art.
- Found Objects such as antique keys, hats, or wall-mounted instruments.
Combining diverse elements creates depth and makes your gallery wall one of a kind.
Step 5: Nail Down Your Color Palette
For a cohesive look, pick a color palette before assembling your gallery wall.
This doesn’t mean every item has to match perfectly—intentional variation is great—but maintaining a common thread helps unify the whole display.
For example, you might stick to one or two frame colors (black + wood), or draw from your living room’s overall theme (neutral tones with pops of blue).
If you love bold color, don’t be afraid to go wild with vivid pieces that complement each other.
Step 6: Hang with Confidence
Now for the moment of truth—it’s time to hang!
A few pro tips for flawless execution:
- Plan it Out First: Arrange everything on the floor, and take a picture as your guide.
- Measure, Measure, Measure: Use painter’s tape to outline your frames and visualize placement.
- Start from the Middle: For freeform layouts, hang the centerpiece first and work your way outward.
- Spacing Is Key: Keep 2-4 inches between each piece to avoid crowding.
(This post contains affiliate links. If you purchase a product or service with the links that I provide I may receive a small commission. There is no additional charge to you! Some of the amazing following photos are not my own, click on them to head straight to the source!)
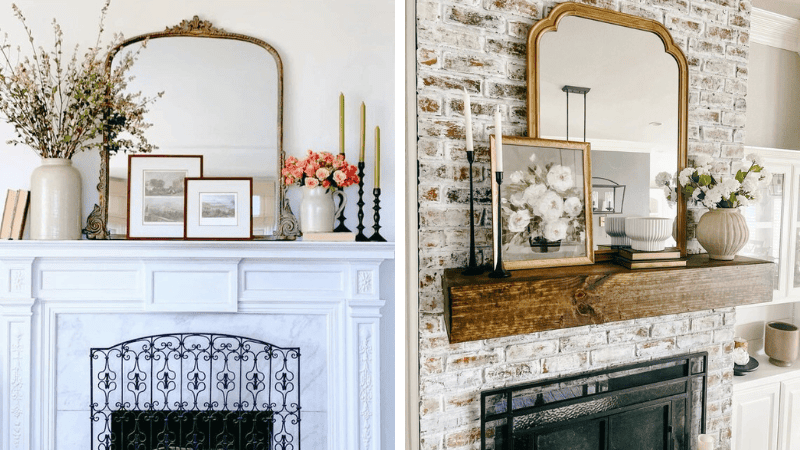
01 | POPS OF COLOR

02 | OLD WORLD NEUTRAL

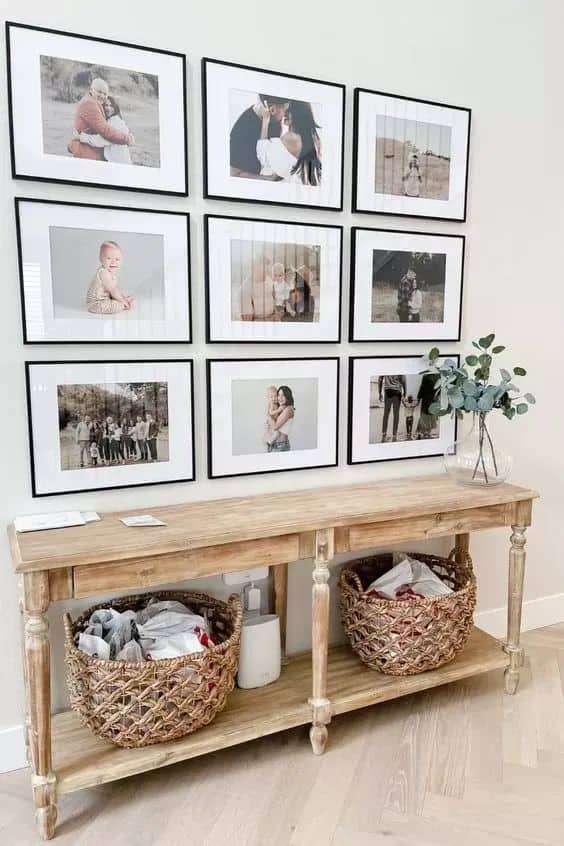
03 | FAMILY MATTERS

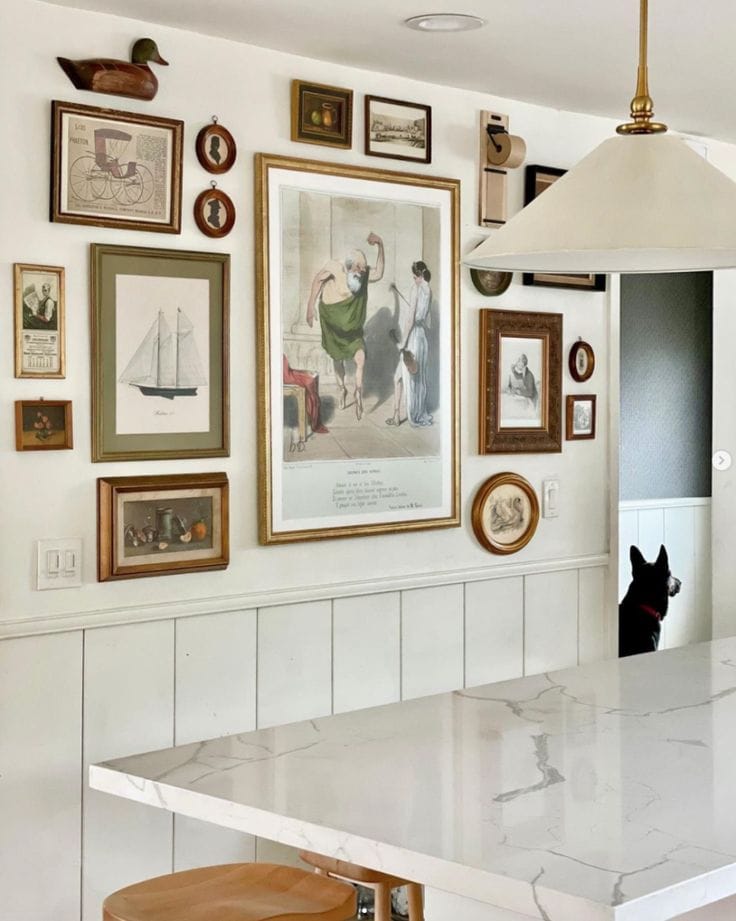
04 | ANTIQUE COLLECTION
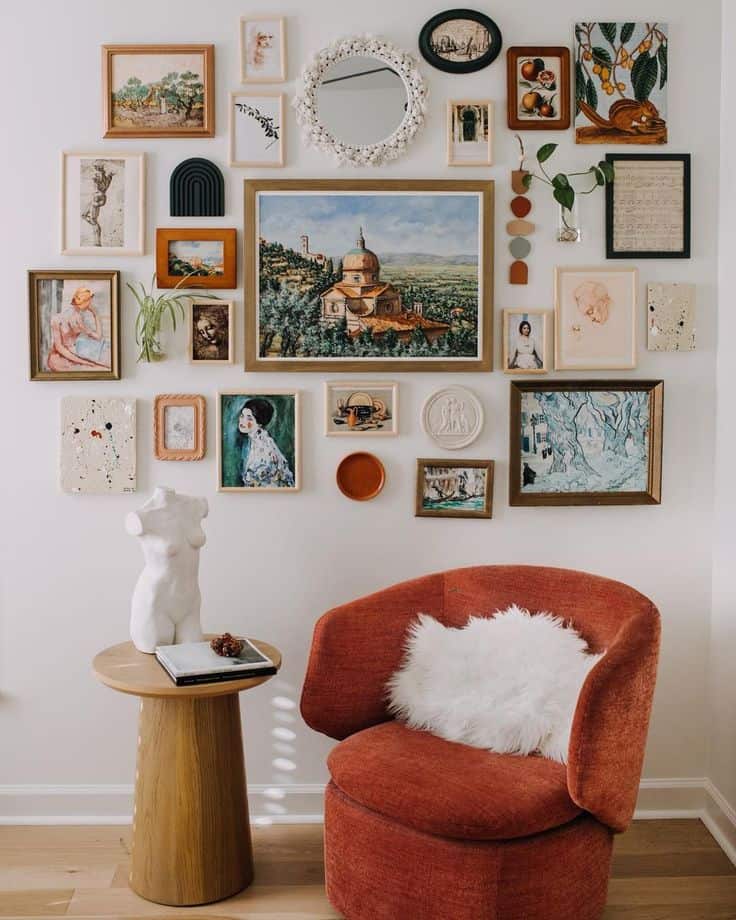
05 | EARTHY GALLERY

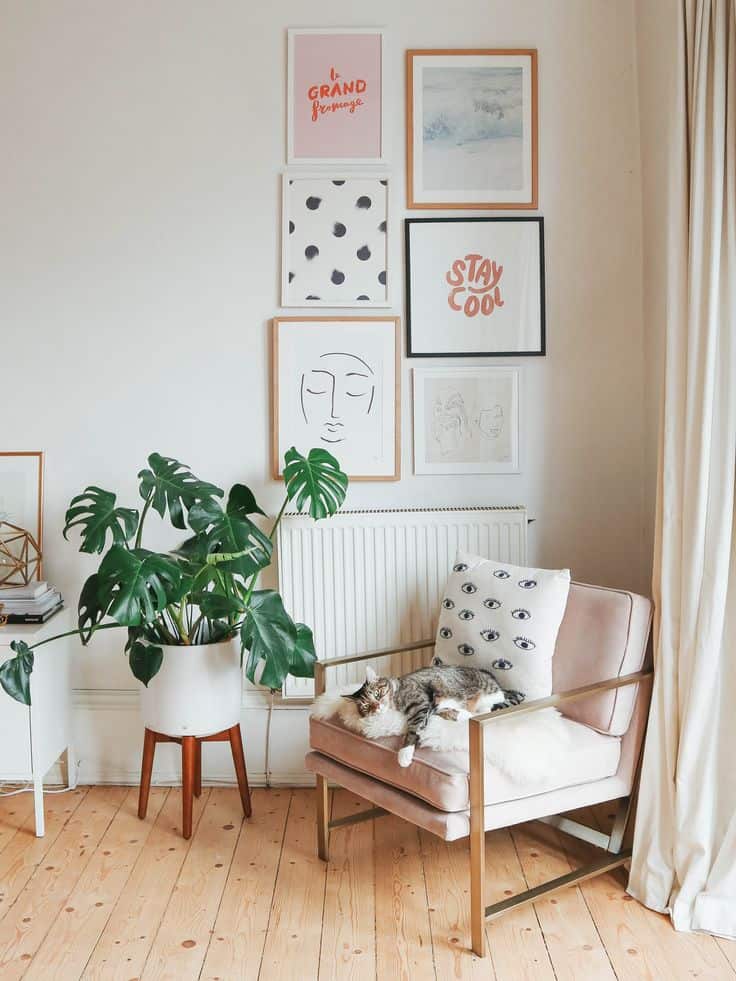
06 | MINIMALIST

07 | SPACED OUT

08 | ART WORK STAIRWELL

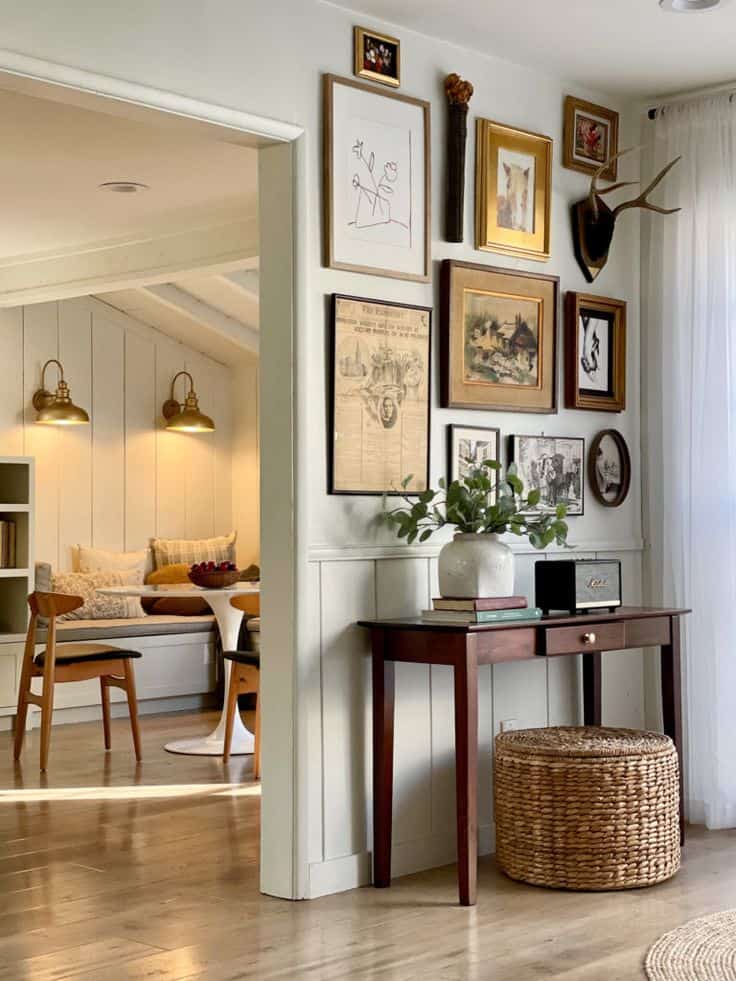
09 | IN THE CORNER

10 | BALANCED
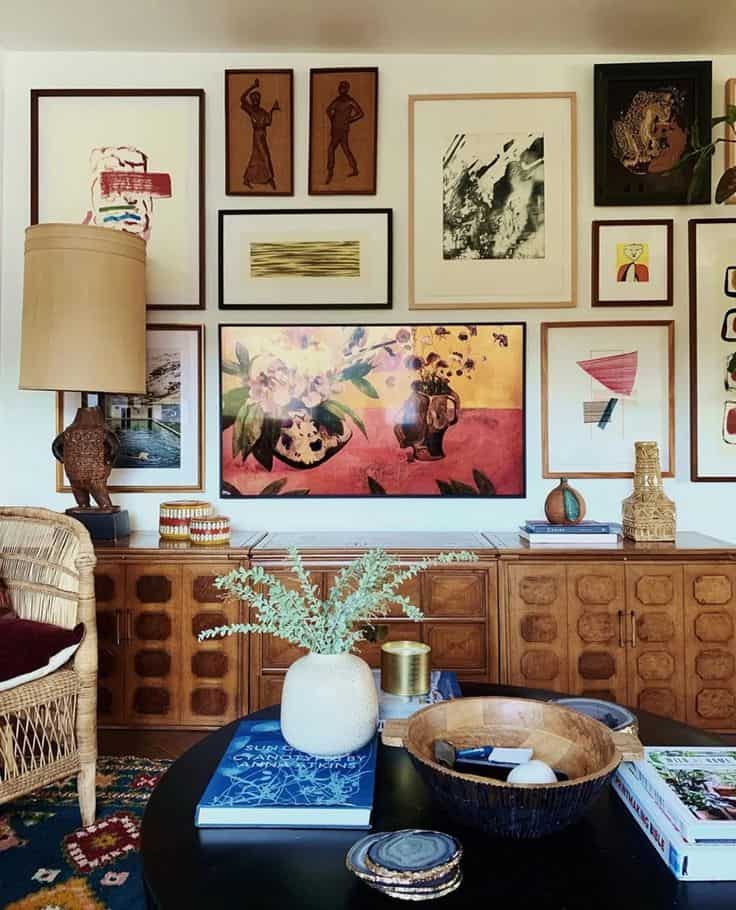
11 | VINTAGE BOHO
12 | FEMININE TOUCH
Related Read
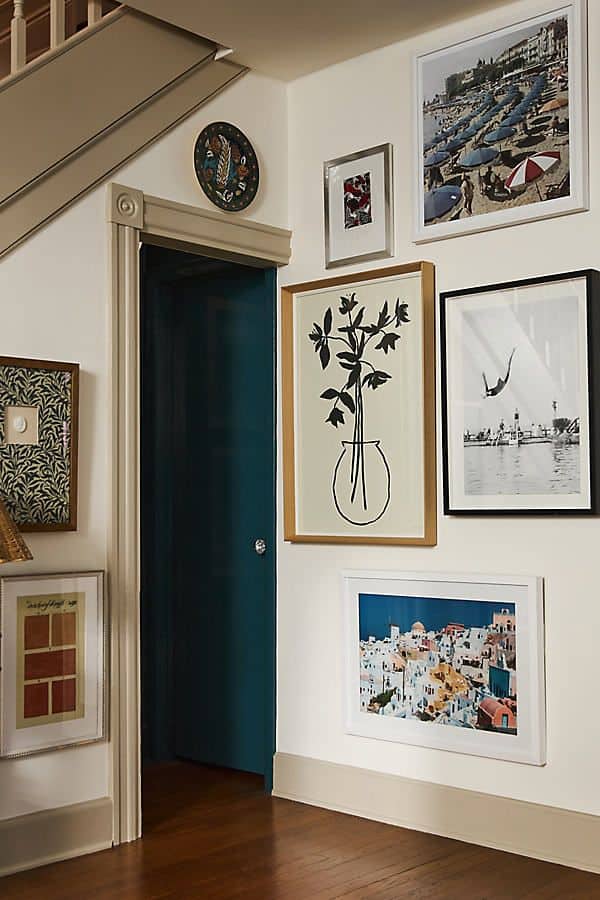
13 | ECLECTIC ENTRANCE
14 | CHINA PLATE GALLERY WALL

15 | SIMPLE YET EFFECTIVE

16 | VINTAGE PHOTOGRAPHS

17 | UNEXPECTED COLOR

18 | CURATED COLLECTION
19 | SQUARED OFF

20 | OLD WORLD ART

21 | BOLD PRINTS & COLORFUL PATTERNS

22 | LARGE MATS

23 | MIX & MATCH
24 | MAXIMALISTS DREAM

Your dream gallery wall is so much more than just decoration—it’s a celebration of your memories, passions, and style.
Whether you’re sticking to clean grids or going wild with an eclectic mix, there’s no wrong way to create gallery wall styling ideas that truly feel “you.”
Happy Decluttering!

