Ultimate Guide to a Lunch Packing Station
Packing school lunches? It sounds simple enough until you’re scrambling around the kitchen every morning, searching for containers, snack bags, and the elusive matching lid.
If you’re dreading lunchtime chaos as you head into the back-to-school season, we’re here to make your mornings smoother (and way less stressful) with a must-have lunch packing station.
This blog will guide you step-by-step on how to create an organized, efficient, and aesthetically pleasing lunch packing station.
Whether you’re dealing with picky eaters, limited kitchen space, or a packed schedule, these tips are designed to simplify your life and bring some order to your mornings.
(This post contains affiliate links. If you purchase a product or service with the links that I provide I may receive a small commission. There is no additional charge to you! Some of the amazing following photos are not my own, click on them to head straight to the source!)
Why You Need a Lunch Packing Station
First things first, why bother making a dedicated station at all?
A lunch packing station is your secret weapon against the everyday hustle.
Here’s what it can do for you:
- Save Time: Everything you need is in one spot, so no more hunting through cabinets and drawers.
- Encourage Independence: Older kids can pack their own lunches when items are easily accessible.
- Reduce Waste: Prevent forgotten food and last-minute rushes to the store with a well-organized system.
Not to mention, setting up this station can turn a chore into something approachable and fun—for you and the kids.
Now, let’s dig into how to create one!
Step 1 Organize the Basics
Choose the Right Spot
The perfect location for your lunch packing station is one that’s convenient, accessible, and functional.
Think about areas that naturally make sense for food prep, such as:
- A designated corner of your kitchen counter
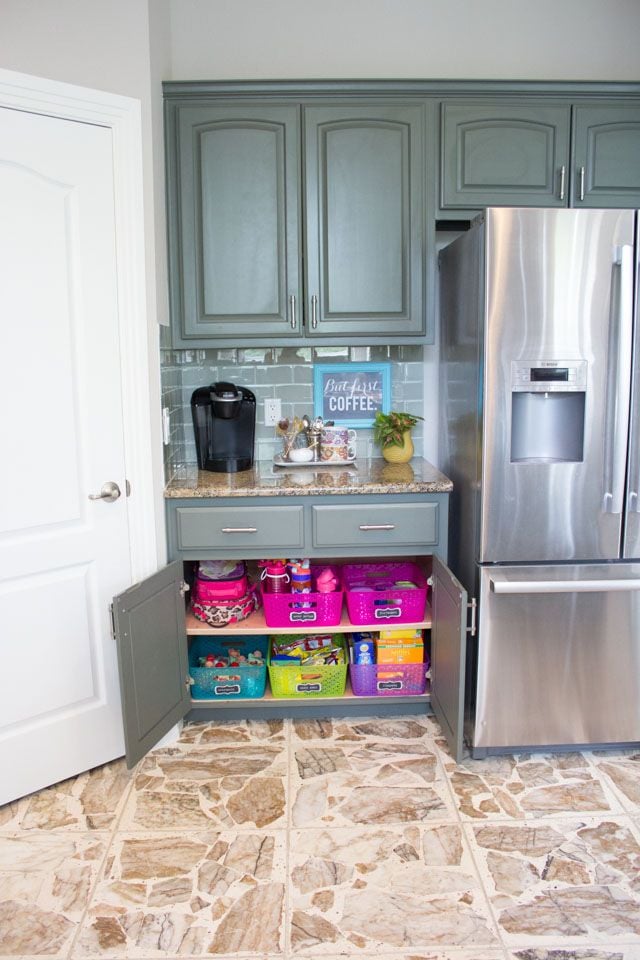
- A lower cabinet or shelf that’s kid-friendly
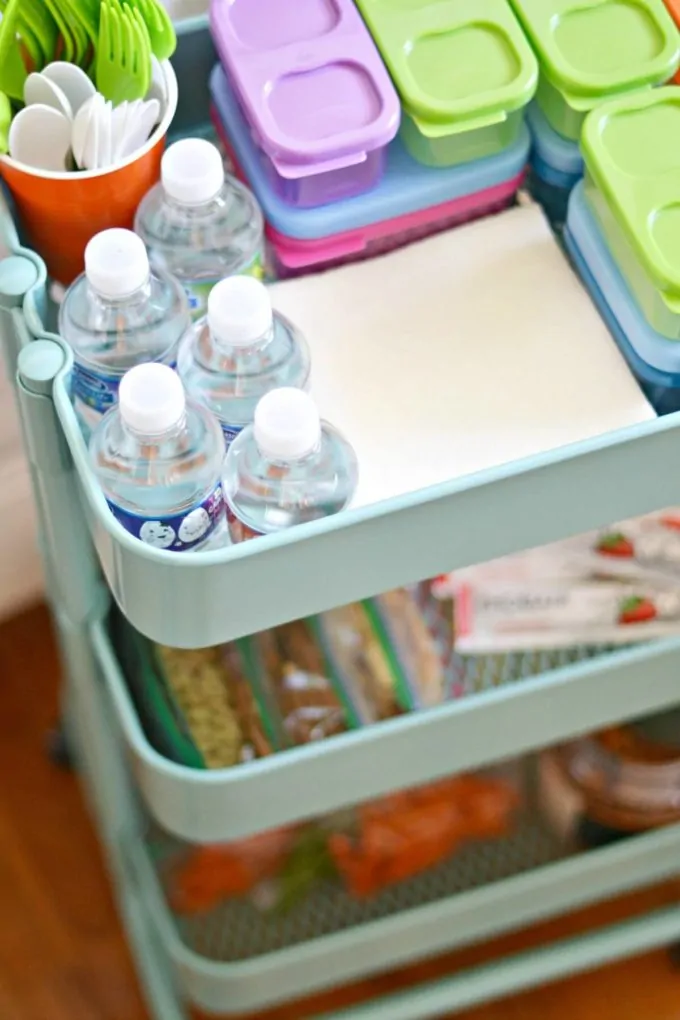
- A rolling cart you can move to suit your needs
Make sure the spot is close to essentials like your fridge and trash can for maximum efficiency.
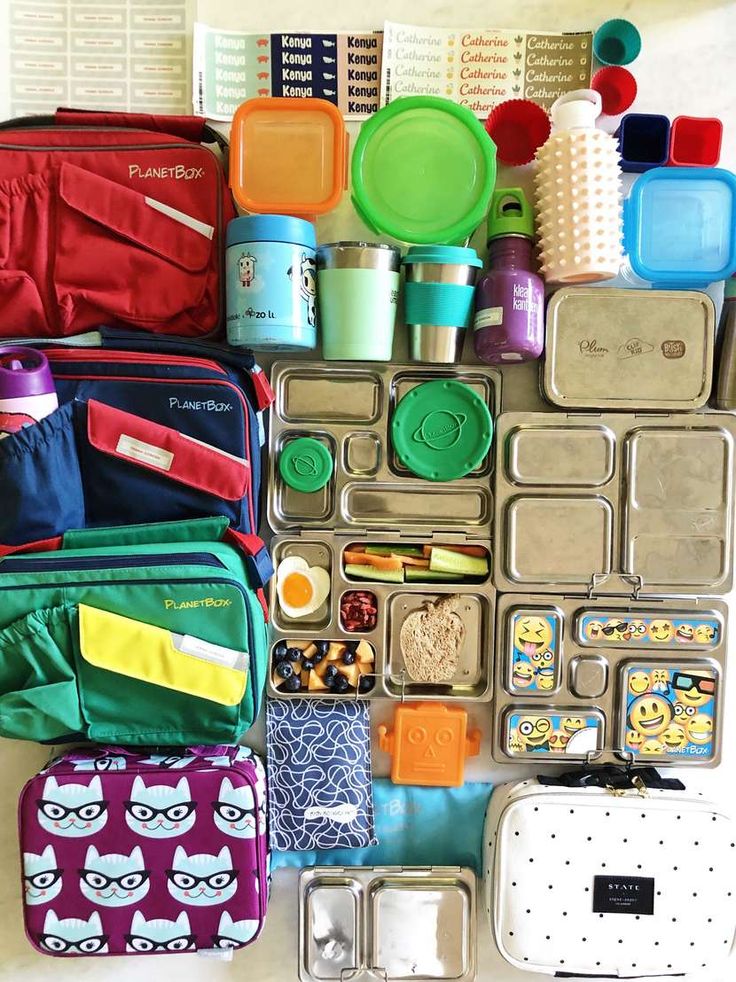
Gather Must-Have Supplies
Before you start assembling your station, make a checklist of everything needed to pack the perfect lunch. Some essentials include:
- Food Storage:
- Packing Tools:
- Other Extras:
By having all of these supplies in one spot, you’ll avoid the madness of mismatched items spread out across your kitchen.
Step 2 Divide and Conquer

Use Clear Zones
A successful packing station is divided into zones based on items or tasks.
Here’s a layout idea to get you started:
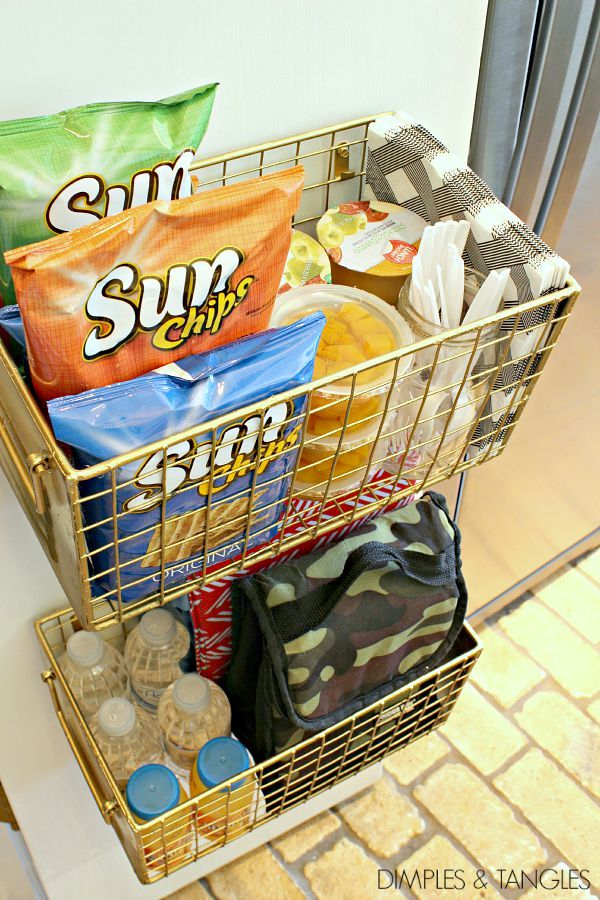
- Dry Goods Zone:
Store items like granola bars, crackers, dried fruit, and pre-packed snacks here.
Use stackable bins or baskets for easy storage.
- Cold Items Zone:
Dedicate space in your fridge for fresh foods like yogurt, cheese sticks, lunch meat, and fruits/vegetables.
Clear plastic bins labeled with days of the week can work wonders.
- Packing Zone:
This is where the hands-on work gets done.
Keep sandwich bags, wraps, and containers within arm’s reach, along with tools like a cutting board and sandwich cutters.
Using distinct sections creates a flow that makes the process quick, organized, and stress-free.
Step 3 Create Smart Storage Solutions
Invest in Storage Bins
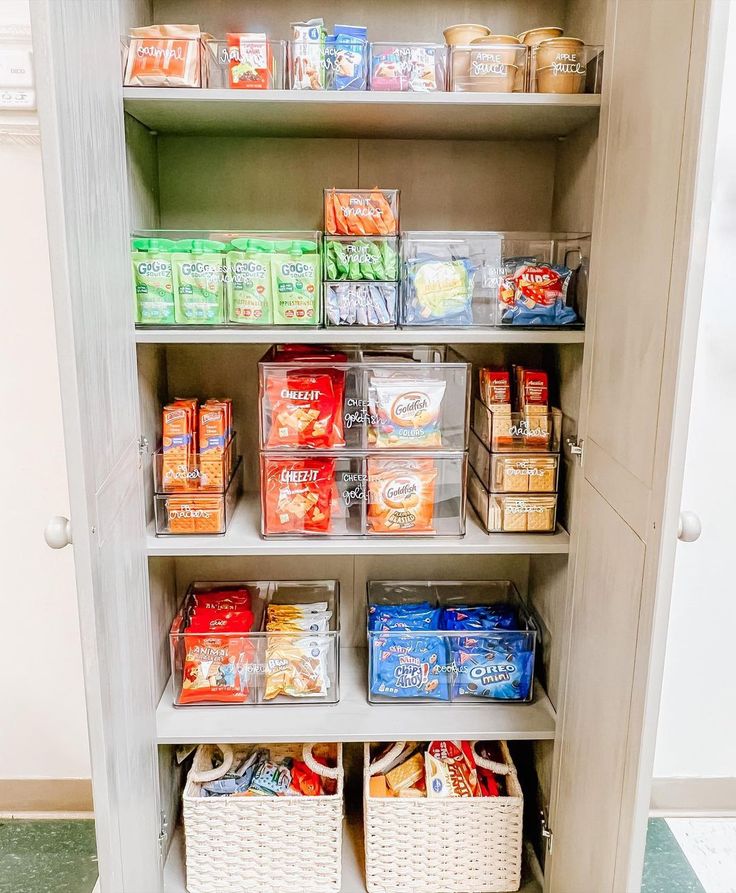
Whether you have ample cabinet space or just a sliver of a counter, storage bins make organizing simple.
Look for clear, stackable bins so you can see exactly what you need at a glance.
Label each bin with categories like “snacks,” “fruits,” or “drinks,” so everyone in the family knows where to find (or put away) items.
Go Vertical
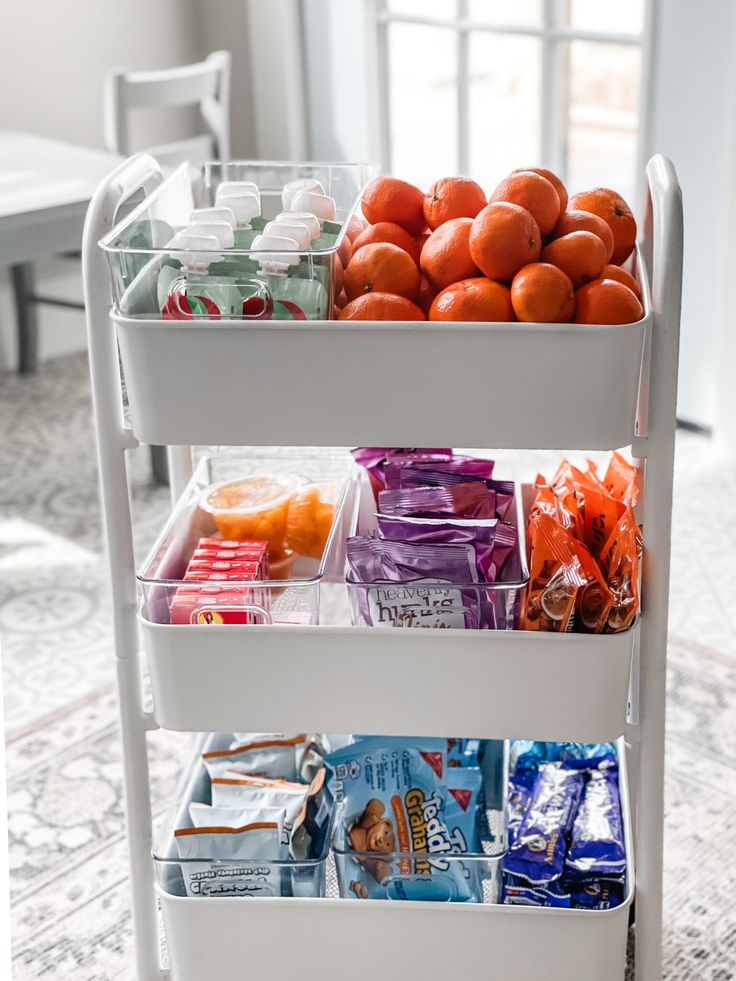
If space is tight, take advantage of vertical storage options.
A multi-tiered shelf, a hanging organizer for snacks, or a magnetic strip for metal condiment containers can free up valuable counter space.
Don’t Forget the Fridge
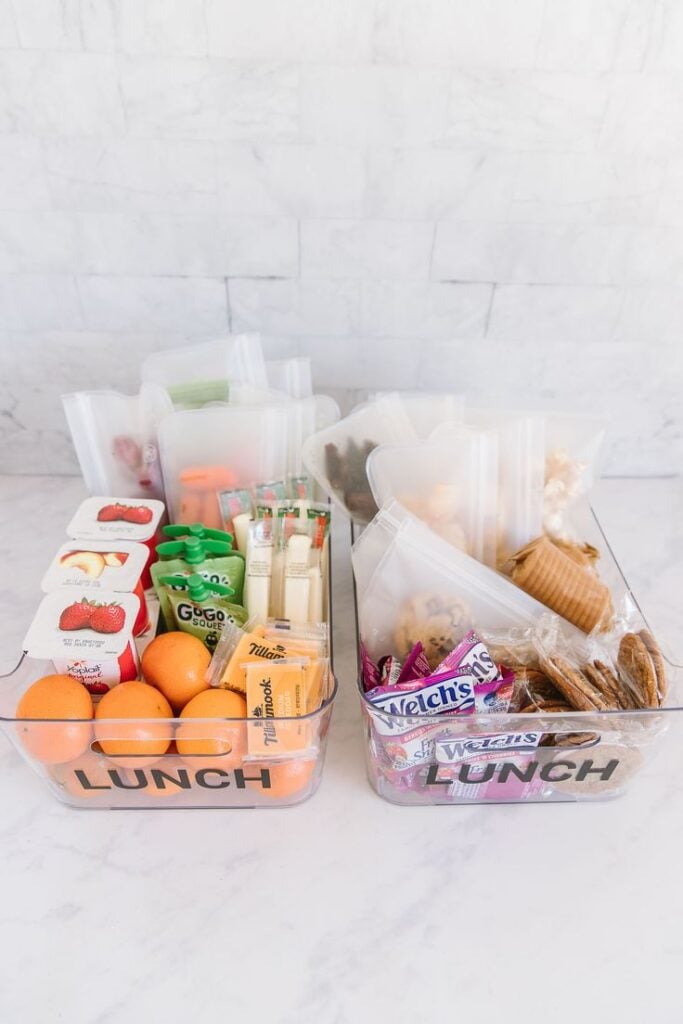
Add a few bins or baskets to your refrigerator.
You can pre-portion fruits, veggies, or protein snacks into grab-and-go containers to make packing even faster.

Related Read
Step 4 Get the Kids Involved

Encouraging kids to participate in the lunch-making process not only saves you time but also gets them excited about what they’ll be eating.
Here are some tips:
- Set Up a “Kid-Friendly” Zone:
Dedicate a part of your packing station to kid-accessible items.
Place bins at their level filled with school-safe snacks and pre-packed goodies.
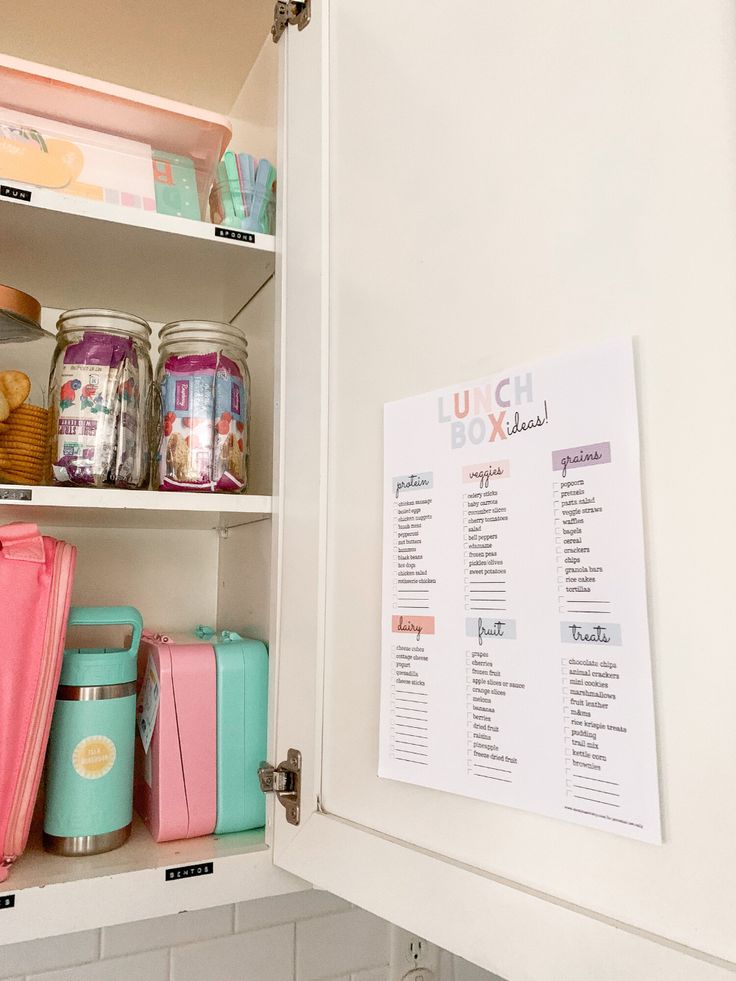
- Create a Menu Board:
Set up a chalkboard or whiteboard near the station where kids can pick their lunch items each week.
This makes shopping easier and ensures their input is heard.
- Teach Assembly Skills:
Show them how to portion out items, use zip-top bags, or stack lunchbox layers.
Even younger kids can help with simple prep like washing fruit or counting crackers.
Step 5 Keep It Sustainable
Making lunch packing eco-friendly is easier than you think.
Small changes can make a big difference:
- Use reusable containers and snack bags instead of disposable options
- Swap plastic utensils for metal or bamboo cutlery
- Opt for cloth napkins over paper ones
- Choose local or organic snacks when possible
Not only will this approach reduce waste, but it will also teach your kids about sustainability.
Step 6 Keep It Stocked and Updated
A packing station is only as good as its supplies.
Make it part of your routine to check and restock items weekly.
Designate one day (Sunday is perfect) for meal prep.
This way, veggie sticks, fruit portions, and snacks are ready to go when the week starts.
Bonus Tip:
Rotate snacks and lunch items to avoid monotony.
Inject some excitement by occasionally adding a surprise treat or a loving note for your kids to discover.
Make Lunch Packing a Breeze
Creating a lunch packing station is a game-changer for busy school mornings.
Not only does it streamline the process, but it also empowers kids to get involved in their daily routines while keeping everyone organized and stress-free.
Happy Decluttering!
